
When we open the ceiling connection box, we find a white wire and a black wire, and the question arises immediately: which one is the phase, and which one is the neutral? In a recent housing built to French standards, black generally corresponds to the phase and white to the neutral.
Connecting a light fixture with a white and black wire seems simple on paper, but several practical traps can turn this operation, which should take just a few minutes, into a source of short circuits or electric shocks.
Black wire and white wire in the ceiling: why color is not enough
In an installation compliant with the NF C 15-100 standard, the black wire carries the phase (L) and the white wire serves as the neutral (N). This convention is reassuring, but it only applies to wiring done according to the rules.
In an older home or one renovated by an individual, the color of the conductors may be inconsistent. It is common to encounter reversed wires, black neutrals, or switch returns wired to a white conductor. Relying solely on color means connecting blindly.
The only reliable method is to measure the presence of phase with a voltage tester or a multimeter, wire by wire, before any connection. Place one probe on the suspect conductor and the other on the ground (green-yellow wire, if present) or on the metal box connected to the ground. The wire that shows a voltage around the mains value is the phase, and the other is the neutral.
Mastering the light fixture connection with white and black wire requires always checking the actual function of each conductor, not just its color.
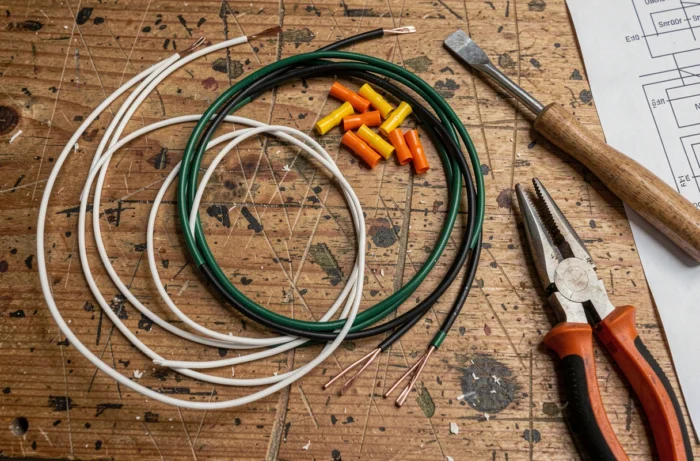
Turn off the power before touching a light fixture: the right action at the panel
We often see DIYers turn off the wall switch and start stripping the wires. This habit is dangerous. The switch often only cuts one conductor (the phase, in theory). The neutral, however, remains live in the ceiling connection box.
The cut must be made at the circuit breaker for the concerned circuit, directly at the electrical panel. Identifying the correct circuit breaker can sometimes require some trial and error if the labeling is absent. In this case, cut the main breaker to eliminate any risk.
Check for the absence of voltage at the light point
After lowering the circuit breaker, return to the ceiling with the tester. Check that no voltage is present between the two wires. This check takes a few seconds and protects against a labeling error at the panel or a circuit powered by another breaker.
Feedback varies on this point, but several field electricians report cases where a lighting circuit shared a breaker with outlets, making identification less obvious than one might think.
Connecting a two-wire light fixture to the ceiling: practical method
Once the absence of voltage is verified, the connection itself is straightforward. The light fixture usually has two conductors coming from its power cable, sometimes marked L and N, sometimes identified by a smooth sheath (phase) and a striped sheath (neutral).
Identify the wires on the light fixture side
- If the light fixture cable has the labels L and N, connect L to the phase wire (black, once verified with the tester) and N to the neutral (white, once verified).
- If the wires of the light fixture are the same color, the conductor connected to the outer screw of the socket is the neutral, and the one connected to the central terminal is the phase.
- On a three-wire light fixture (with ground), the green-yellow conductor connects to the ground wire from the ceiling. If there is no ground in the ceiling, isolate this wire with a connector or Wago and leave it disconnected.
Make the connection
Use automatic connection terminals (like Wago) or connectors. Each terminal receives only one pair of wires: phase with phase, neutral with neutral. Push the stripped wire into the length indicated by the terminal manufacturer, usually marked by a line on the connector’s body.
In recent installations, a DCL (Device for Connection of Light Fixtures) box simplifies the operation. The base is already fixed to the ceiling, and the wires are pre-wired in the plug. Plug the male connector of the light fixture into the female DCL base, and the light fixture is connected without handling bare wires. The DCL box secures and simplifies the connection in new or renovated homes to standards.
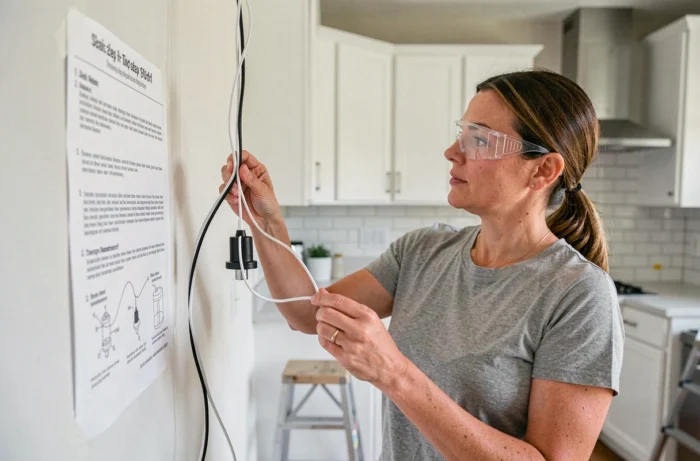
Common wiring mistakes for black and white ceiling lights
Some mistakes frequently appear on forums and job site feedback. Knowing them helps avoid having to dismantle everything afterward.
- Reversing phase and neutral on the socket: the light fixture still turns on, but the metal part of the socket remains live when the switch is open. There is a risk of electric shock when changing the bulb.
- Using electrical tape as the only insulation on a connection: connectors or Wagos ensure reliable contact and mechanical insulation. Tape alone can peel off with heat.
- Forgetting to check the tightness after the first power-up: a wire poorly inserted into a Wago or a loose connector can cause heating at the contact point, a potential source of poor contact or fire.
After the connection, restore power at the circuit breaker, turn on the switch, and check that the light fixture works. If the chandelier does not light up, turn off the circuit breaker again and check each connection.
A final point often overlooked: the ground wire protects against insulation faults. On a metal light fixture, not connecting the ground exposes you to a risk of electric shock if the internal wiring of the fixture has a fault. When the ceiling does not have a ground wire, choosing a double-insulated light fixture (class II, double square symbol) eliminates this constraint.